Thursday, February 19, 2015

Bedroom…Painted!

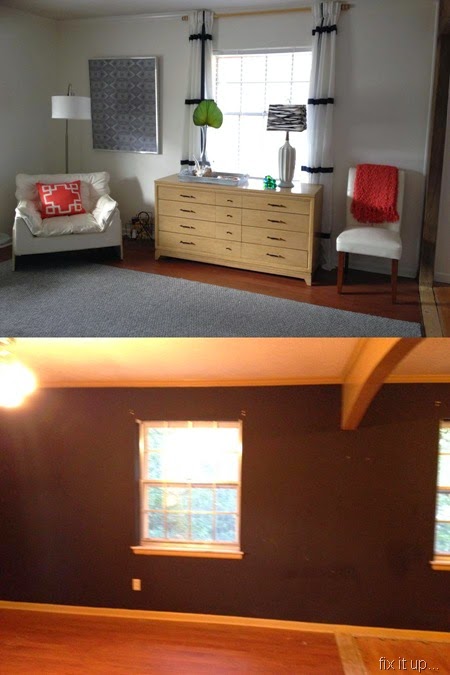
I HATE BLACK WALLS!  Think long and hard before you paint a room black.  Because someday you will want it white again. It took f o r e v e r.  I took a week off from work and concentrated on the project for five days straight.   I’m not totally done, but it’s looking soooo good.

Before and After

Pay no attention to the styling.  I just threw things back together after the paint dried.  The walls are the star in this post.

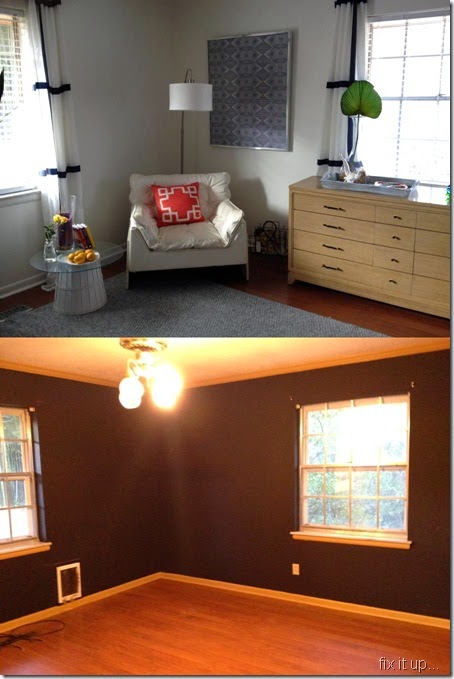
B and A 2

Same exact view.  Minus the dog door.  Minus the carcass of the ceiling fan.  Minus all the cables from the security cameras that were surrounding the property. Paranoia will destroy ya.  

Let there be light!  I finally woke up from my nightmare. 

Monday, January 19, 2015

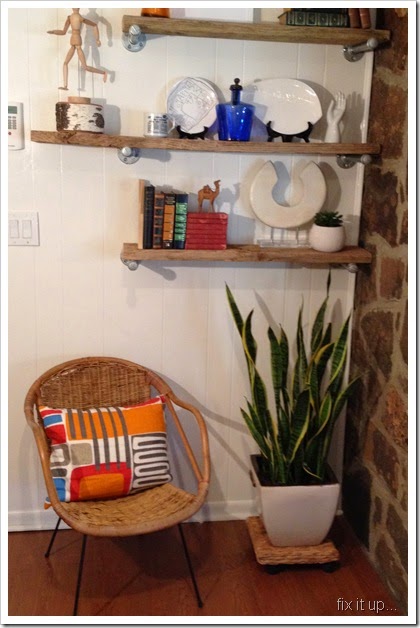
Industrial Bookshelves

One baby step at a time, things are getting accomplished around our tired little rancher!

Photo Jan 17, 1 08 26 PM

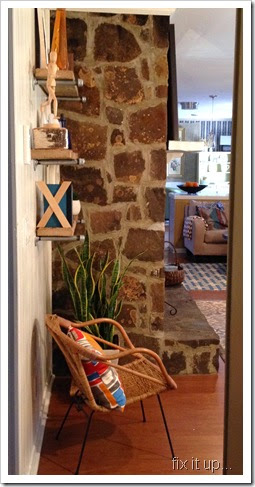
This space to the left of my fireplace has been a sore spot for me ever since we moved in.  I’ve tried several options, but nothing “spoke” to me.

I think I finally hit on a solution!

Photo Jan 17, 1 08 58 PM

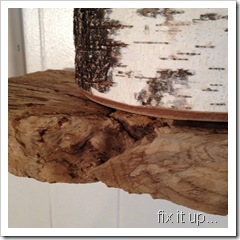
I purchased my pipes at Home Depot and had them cut to length.  I found an old board behind our shed that had been buried in the mud for years.  After a little clean up, I had a beautiful, weathered board, complete with worm holes, rough grain, and funky edges.

Photo Jan 17, 1 12 31 PM

Photo Jan 17, 1 12 20 PM 
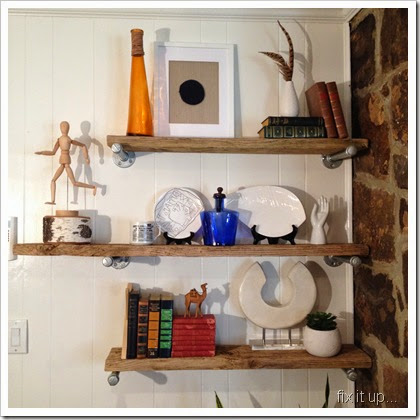
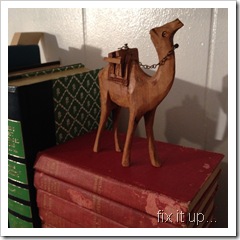
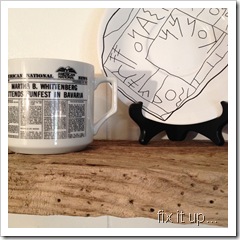
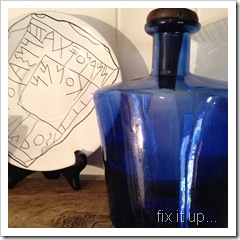
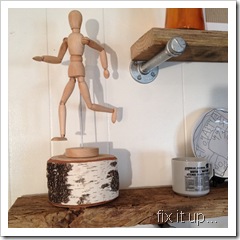
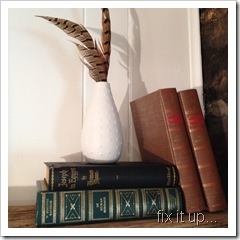
Now I’m having so much fun styling the shelves!

Photo Jan 17, 1 09 23 PM Photo Jan 17, 1 10 22 PM

Photo Jan 17, 1 10 35 PM

Photo Jan 17, 1 10 09 PM

Photo Jan 17, 1 10 46 PM


Just as important is the view of the shelves from the bedroom hallway.  Such an improvement.

Photo Jan 17, 1 11 45 PMPhoto Jan 17, 1 08 34 PM

Photo Jan 17, 1 12 00 PM

Next project…that hideous striped kitchen wallpaper you can see in the distance.  It’s days are numbered.

Thursday, December 4, 2014

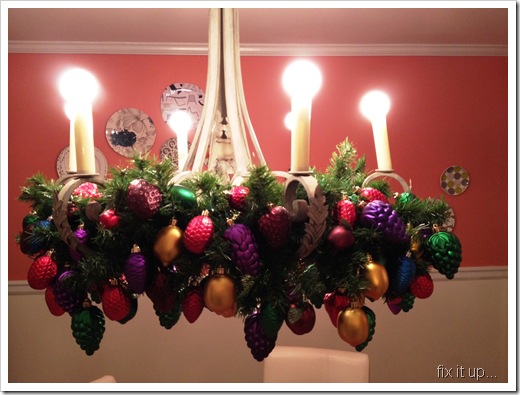
My Christmas Chandelier


IMG_6483

As much as I was growing fond of the single light bulb dangling from the ceiling in my dining room for the past thirteen months, I finally got my chandelier hung…and with no time to spare!

Now it’s the focal point of the dining room with garland and lots of jewel tone ornaments. The room feels so bright and happy now :)

Funny how the little things can mean so much when you’ve gone without for a while!

Tuesday, December 2, 2014

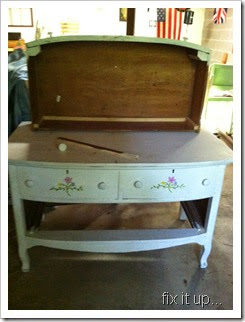
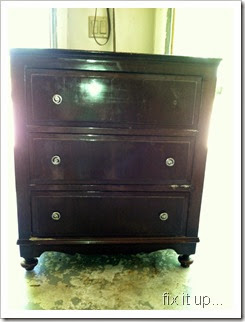
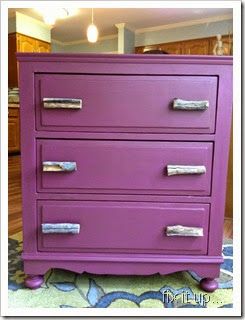
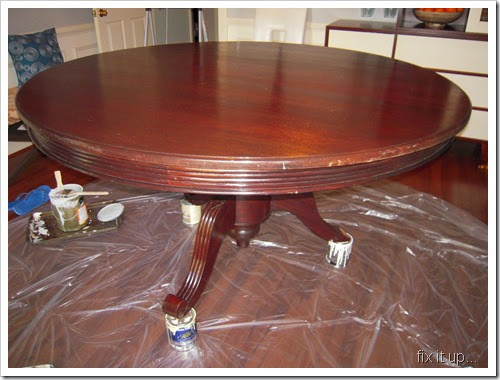
A Few Before and Afters

Every once in a while I go through my folders full of pictures and I’m amazed at how the projects accumulate in just a few years.

Here’s a few of my favorites!

IMG_1494IMG_2002


 2012-04-15 13.41.59 IMG_3997


Photo Oct 06, 7 21 32 AM

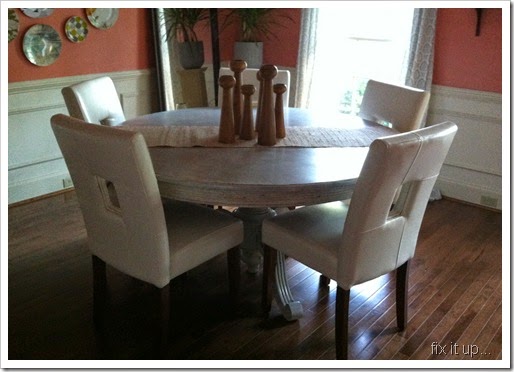
Dining Table

Monday, December 1, 2014

My First Ombre’

Photo Nov 06, 10 17 31 PM

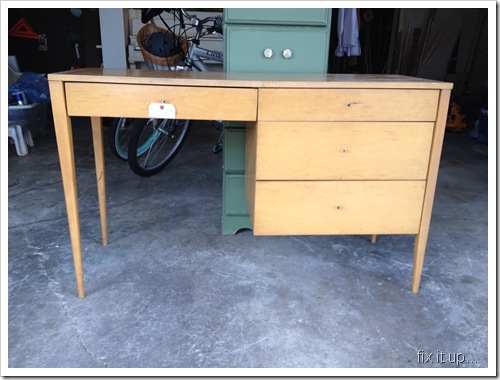
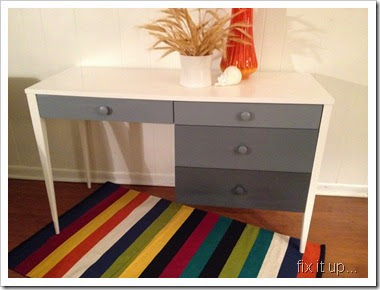
I scored a find at Goodwill recently for ten bucks!

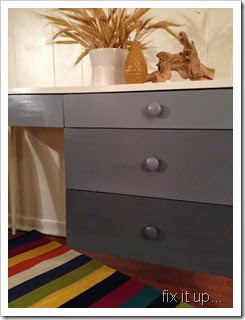
The lines were sleek, mid-century inspired, and the drawers were PERFECT. I had been waiting to find a piece where the drawers had no trim, no detail, and seemed to flow into one another. 

A perfect candidate for ombre.

Photo Oct 11, 5 22 02 PM

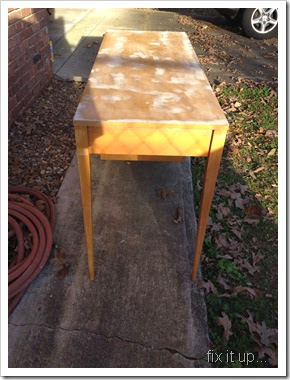
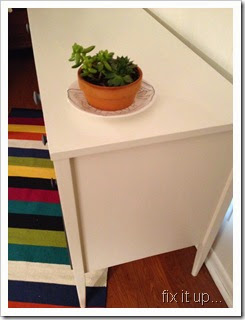
After some filling and sanding, the paint went on quickly.  One coat of primer over everything.  Then two coats of white semi-gloss on the legs and “shell”.

Photo Nov 04, 4 37 34 PM

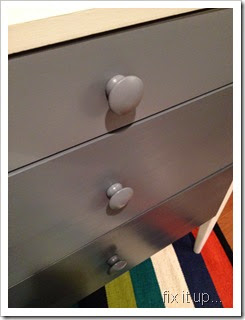
I was in a thrifty mood so all my materials were improvised.  I found four unfinished wood pulls in my stash of hardware.  And I took the white paint I used on the body and  added portions of black paint to it to create the three degrees of gray that worked for me.

Photo Nov 06, 10 18 26 PM 

I painted each knob the same shade of gray that was on that particular drawer. 

Photo Nov 06, 10 21 36 PM

Photo Nov 06, 10 44 08 PM


Photo Nov 06, 10 22 47 PMPhoto Nov 06, 10 27 33 PM


I think I’m happy with the results!

Thursday, October 9, 2014

Spring’s First Project

Photo Aug 02, 3 20 02 PM
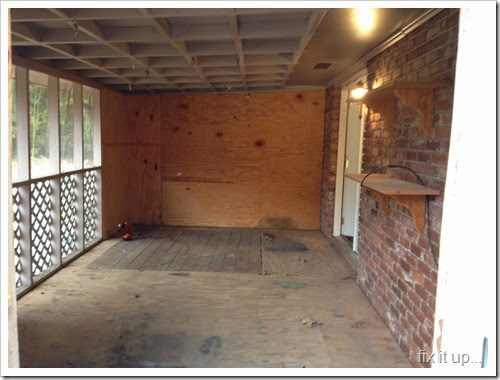
I was thrilled that our little rancher had a screened porch, but we had quite a bit of work ahead of us before the first cook-out. 
Photo Nov 09, 1 08 55 PM Photo Nov 09, 1 09 22 PM
These pictures were taken in the process of my hubby pulling down all of the plywood that covered both the walls and the floor of the porch.  It seems as though this porch had been used a a “green house” of sorts in its previous life; hence the privacy walls and the intricate series of hooks and pulleys on the ceiling, perfect for suspending grow lights??
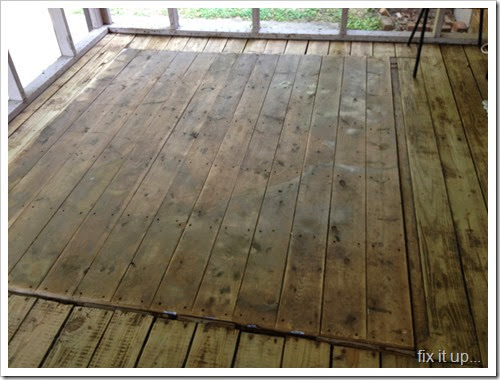
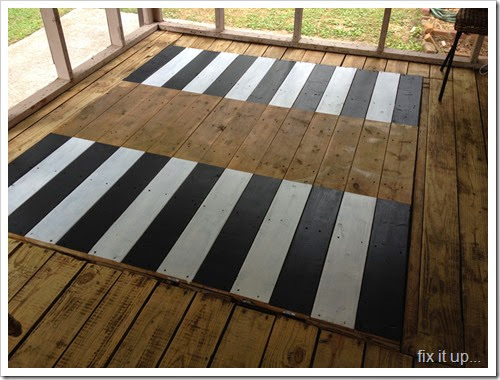
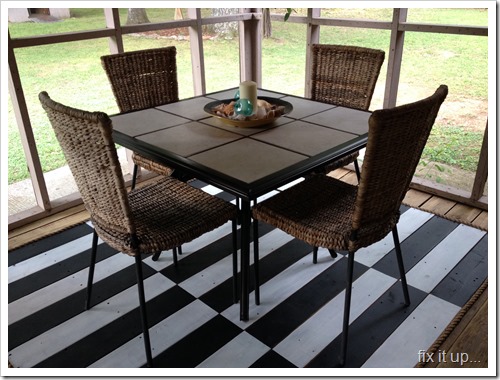
Photo Jul 13, 9 49 41 AM Once we had all the plywood pulled up we were left with one glaring eyesore.  A portion of the decking had been reinforced to carry the weight of a hot tub.  This wood was 1/2 inch higher than the other decking, and didn’t blend in.  After much thought, I decided to paint a faux rug over the area.
Stripes were the obvious choice of pattern.  I was inspired by the Stockholm rug from IKEA.  So with a little painters tape and the boards as my guide I went to work.
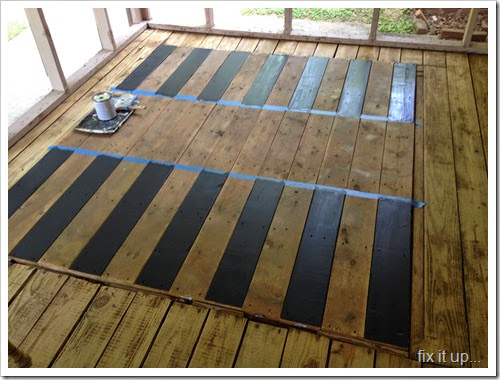
Photo Jul 13, 11 04 28 AM
Photo Jul 14, 4 40 14 PM
Photo Aug 02, 3 13 41 PM
Since the boards were still a possible tripping hazard, we decided to edge the “rug” with large sisal rope.  We simply started in the back corner with one long length of rope, pulled it tightly, and nailed through the rope right into the decking.  
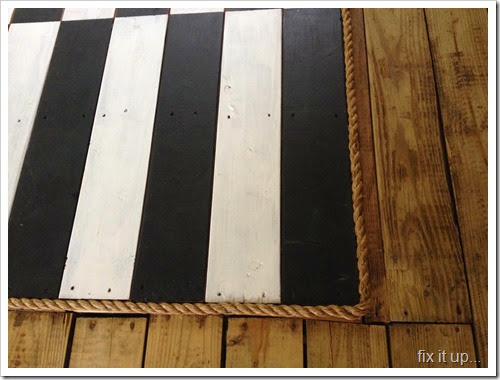
Photo Aug 02, 3 13 22 PM
I was pleasantly surprised to realize that my dining set was the perfect size for the new area.  I couldn’t be more pleased with the outcome!
Photo Aug 02, 3 20 18 PM

Tuesday, March 18, 2014

Making Lemonade…

Photo Mar 18, 4 02 15 PM


We’re still trying to get settled in our “new and improved” smaller digs.  The blessing…only two small bathrooms to clean.  The problem…no place for the toilet paper!

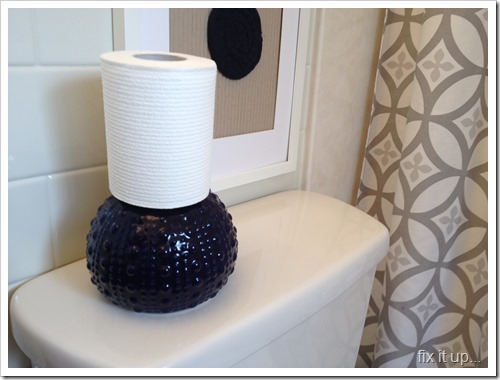
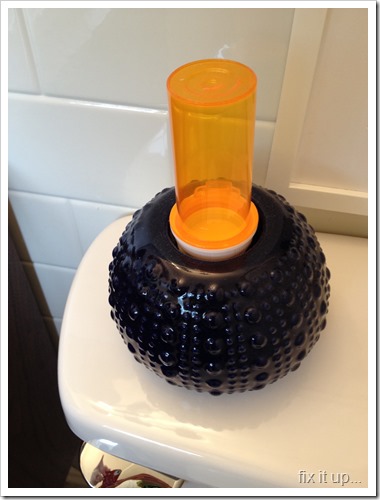
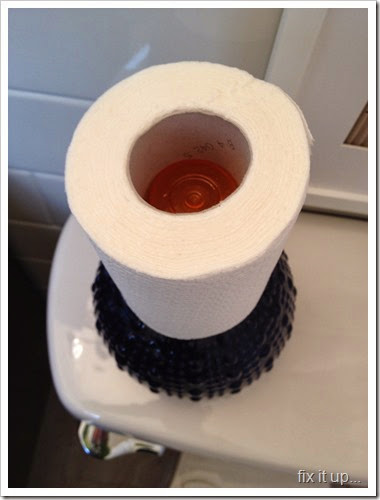
Late last night it hit me.  Work with what I’ve got!  So in the master bath, I grabbed a candle holder that was already on the back of the toilet.  Remove candle…and add plastic prescription bottle! (with a little dab of hot glue)

Photo Mar 18, 4 03 16 PM


Photo Mar 18, 4 03 29 PM

That was way too easy.

So then off to my poor little 1960’s + pink tile + freckled step-child + hall bath.  I already had the branch sitting on the counter.  I literally turned the branch around so that it was facing the toilet…and added the roll.

Photo Mar 18, 4 06 48 PM

Another no brainer!

My work for today is done.